
You’ve just got a Mop to clean up the rubbish during the day or remove dirt, but would you use this cleaning tool to make the floor more compact?
If you leave your dinghy on the floor without cleaning as much as you can, you can break the first rule of amping: vacuum first, mop second. Clean sweep or vacuum work without dust, dirt, and hair covering scatter debris around the floor.
If you have made this mistake all your life, you may have a few more areas to improve your cleaning routine. So, one time you have well incorporated this main stage, try to embed the equally significant ingredients to tail and your floor will be so clean that you can effectively eat it.
Also, the type of Mop you are using will affect your usage strategy. For this guide, we are going to look at 4 different common floor materials and 3 different types of amps.
In your childhood, you remember the phenomenon of fresh-mode floors every day. If you want to find that goal in the dining kitchen or at least stick to the tow in comfort, mopping is definitely the way to go.
We’re here to support you arrive at the most efficient mopper by providing points, steps, and help so you have the knowledge of just what you should make! The good information is, mopping works fantastic straightforwardly.
If you don’t have coverture or a single class of floor, trust in the size of your floor, you can fall it achieved in moments!
The Right Cleaner for the Job

It is a grading mistake that the above soap level cleans your house floor. In reality, many glue residues use suede leaves on the back – and these sticky residues can trap even more deadly. Whether you select a home-built or commercial cleaner, select the ideal one for your floor class and usage it sparingly.
Hardwood:
Review if your floors are completed with polyurethane or wax. If your ground is sealed with polyurethane, use a light or pH- impartial soap with aqua. Eliminate cleaning products (natural or commercial) with acid additives, which can harm the wood above period. If your floor dice to wax, usage a dank(nearly dry) mop at one time a week – even a little quantity of water can tuck.
Laminate:
As in the case of hardwood, watering time is also shorter; You want to prevent this from happening under the laminate mop board. Try dank mopping and venue cleaning, but don’t usage any commercial floor cleaners with luster.
Vinyl:
One of the greatest cleansers for this floor surface is a resolution of pip cider vinegar and water. Payable to its acidity, vinegar supports stealing dirt except for the separation of any build-up back, and at the very same period, it arrives transited.
Linoleum:
Not as elastic as vinyl, this floor needs light cleaning for the surface. Mixture a small number of drops of plate soap with warm water in a spray bottle and then spritz the surface item by item. Complete by running to the floor with clean water from a dank mop.
Stone tile:
Shake with a pH-impartial, non-chelating cleanser that does not respond with stone minerals. Avoid bleach, ammonia, and vinegar, even very small amounts on stone tile floors can damage the seal.
Ceramic tile:
White vinegar and water are effective for this floor surface, an odor-eliminating, nontoxic cleanser is great for pets and families of children.

Put It Through the Wringer
A rope mop or “yacht mop” is what most communities worry about when they ponder of “mop”. The mop of the sponge should be calculated trust on the floor you have. When selecting among the two, repose in the heart that rope mops bury a lot of water, so they require various ringed blows.
Once you have chosen your mop type, immerse the mop in the cleaning solution so that it sinks to the top of the head. The Mop buries the cleaner and then accepts out as numerous wetness as feasible. Remember, you want the swarm to be damp, not wet. In some cases, mops, such as hardwood floors mop, laminates, and linoleum, need to be pasted countless times until they are almost dry.
Two Buckets Are Better Than One
Here’s a healthy idea: usage a bucket for cleaning and a pail for the cleanser. By dipping the dirty mop in a separate wash bucket, you can get the water out without contaminating the detergent bucket in any way.
When both buckets of water become too dirty, replace it, but don’t just throw the old batch in your kitchen sink. Mop water is full of germs and dirt, so remove it from the toilet – don’t use the same utensils to wash your chicken and vegetables when preparing for dinner tonight.
Wipe in the Right Direction
When you are painting a floor, start mopping in one corner of the room and try to return to the exit to avoid setting foot on the area you have just cleared. As important as it is to swipe the wood grain toward the structure, concentrate on the structure where you are pressing your mop; For more textured surface floors, delete small figure sticks. If you see some stubborn stains that just haven’t cleared, go behind them with some cleaner and a cloth after finishing the whole pass on the floor.
Air It Out
The next day after you work hard to ensure a sterile mop, soak your mop head in a mixture of bleach and water to sterilize. Wait 10 minutes, then rinse and discard excess water.
Never keep your mop in a bucket for drying, or you run the risk of creating bacteria and mold in the rest of the moisture. Easy preventive stages to spray each final drop will do your cleaning way easier and the after time you pull the mop.
How To Mop A Floor?
Traditional damp mopping is the best method to clean multiple kinds of floors. Sweeper-type pads are excellent for everyday cleaning of broiled mixed dust and mild soil. With just a clean, proper supply note the weekly damp can really clean the deep-down floor as needed.
Moisture mopping is by distant the best way for cleaning vinyl sheet floors, vinyl tiles, and ceramic or porcelain tiles. However, it is not a fine idea to usage water on any type of wooden floor or laminate, cork, bamboo, or any other floor where water makers discourage water contact. Properly sealed wood or laminates can withstand occasional damp wipes but heavy mopping with water is not recommended for these floors. If you need more healthy and refreshing mind in your home, we recommend steam mop is for you. This steam mop cleans the dirt from your floor surface efficiently, unlike other regular mops. This steam mop is eco-friendly, and it is energy efficient.
11 Steps How To Mop A Floor
As common law, floors in high traffic areas like this as kitchens, dining places, toilets, percolation, and hallways should be clear and moped at one time a week for several days.
A good mopping is important to keep the floor clean, but regular sweeping or vacuuming is important to keep the floor finished and alive because it removes dirt and debris that can damage the floor as it is removed. This is the point when mopping, the best period to wash is when the floor desires.
Most people have the idea that they already know how to shake the floor, but often a key mistake is to neglect to use a second bucket to wash off the water. It is very general to usage one pail of washing water and clean the floor to clean the mop in the very same water.
In a good way, two buckets are used – one for water and detergent solution and the other for clean washing water. You can further usage a pail for washing water and serve a sink basin with fresh water for cleaning.
1. Choose a Mop and Buckets

Select a mop founded on your floor class. If you have a floor with a few surfaces like various surfaces, you will need an over classic rope mop or a strip mop.
A sponge mop will perform better if you keep a soft floor. If you use string or strip mop if the mop buckets work well with the built-in rangers, a bucket of handles will work better if you use a sponge mop.
2. Choose a Cleaner
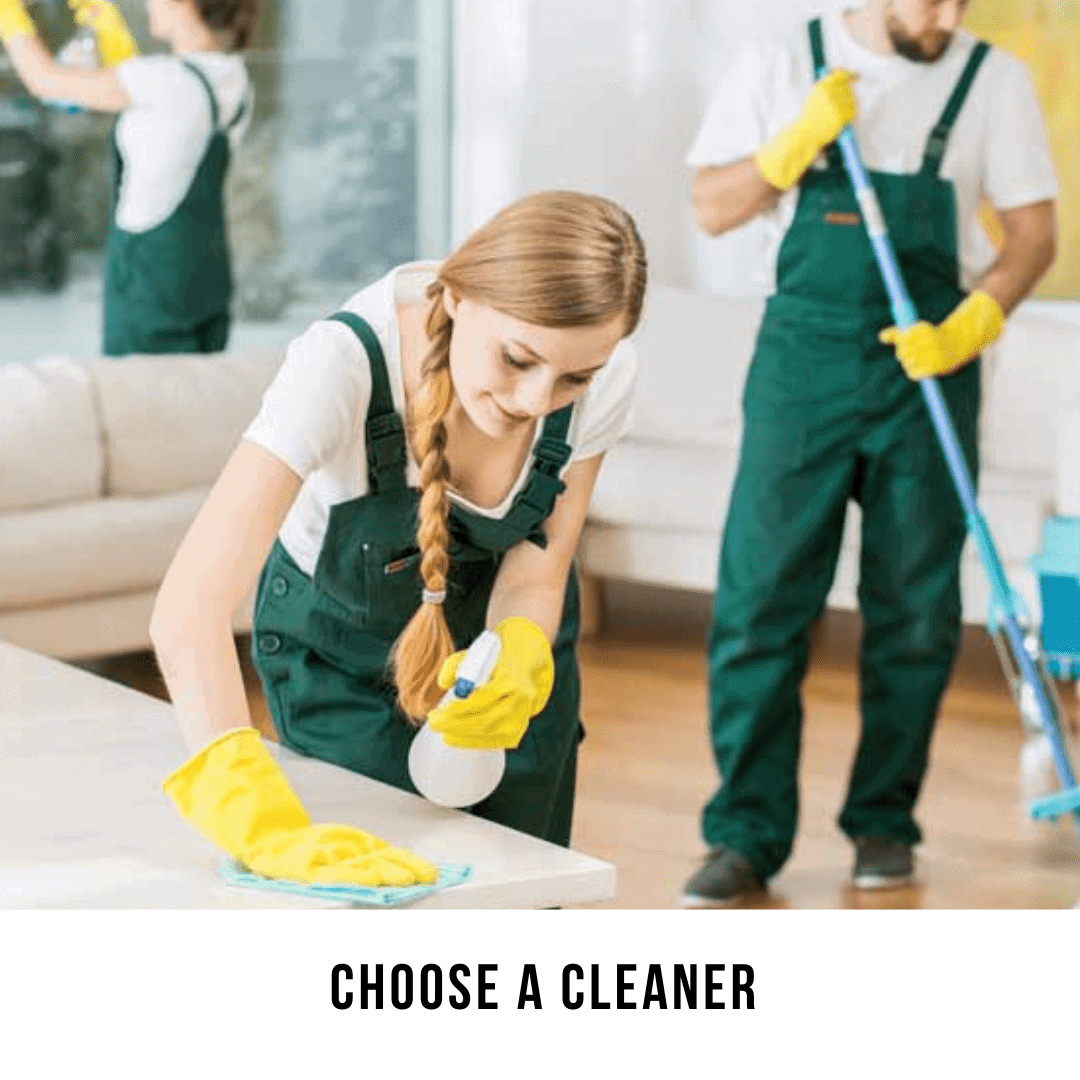
Choose a cleaning detergent designed for your floor type. Avoid advertising products using phrases like “mop and shine” because they can cause unrest over time.
3. Sweep or Vacuum First

Glue your floor before you touch it with a shaking touch or vacuum the floor completely, get rid of debris When you use a broom or vacuum vent you have noticed that this is a good time to wash off sticky or sticky stains.
Do this with a sponge and gushing water or with a home cleaning resolution of your selection(just create sure it’s secure for your floor).
4. Fill the Buckets

Fill each bucket with hot sand, which cleans better and faster than cold or warm water. Add open mopping detergent. Eliminate the trick to double the quantity of detergent in an action to improve cleaning capacity(or speed).
This is not a fine opinion, as additional regular washing water will not clean more useful, and it will be more difficult to wash. Consistently observe the education on the detergent brand.
5. Dip and Wring the Mop
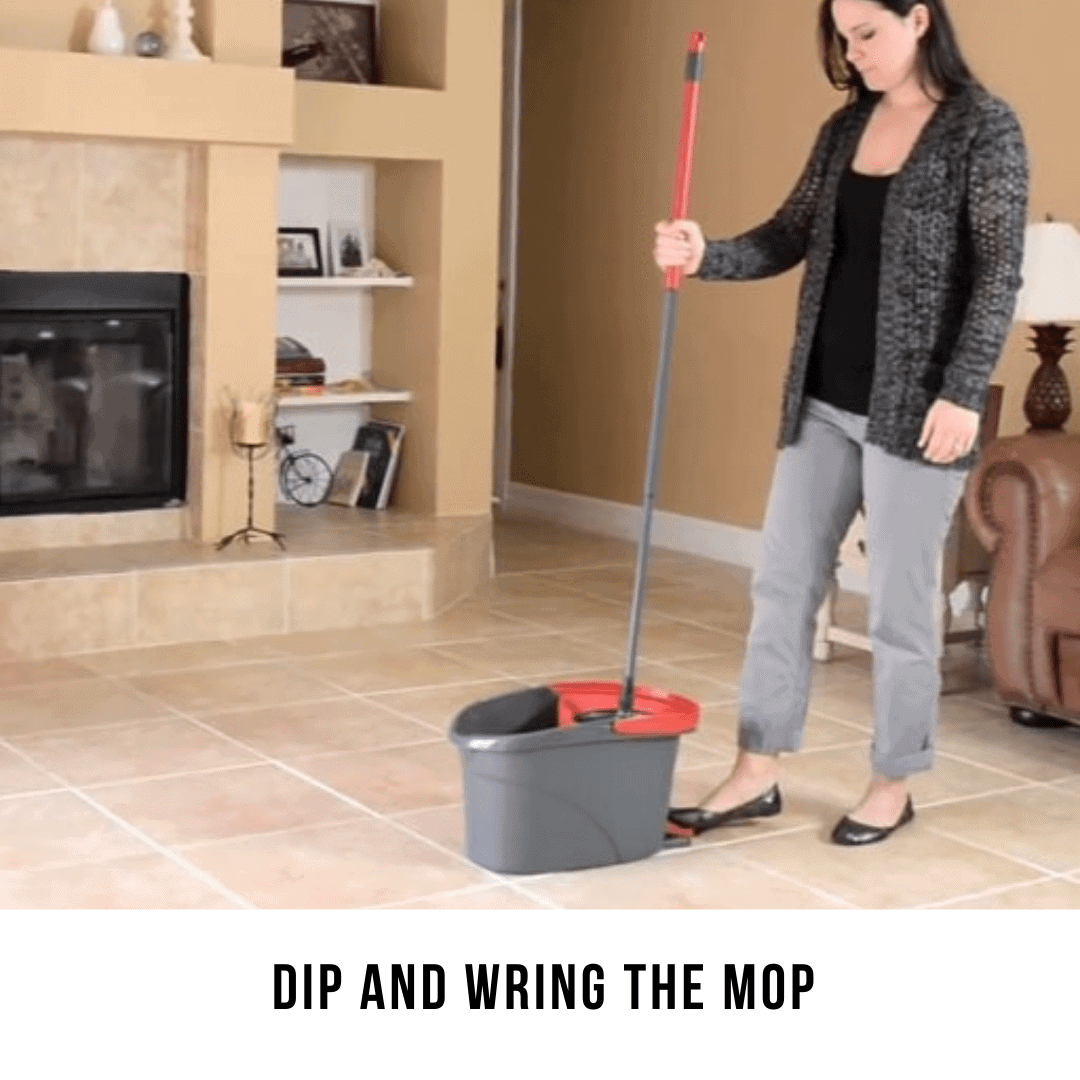
Dip the mop into your pillow and take it out with a ranger or hand. Must be well moist, not damp. Boiling large amounts of water from mop can damage a surface and dramatically increase the drying time.
6. Begin Mopping

Start mopping the floor, working from one finish to the various, and going backward so that you constantly stay in a free location to confine tracking. If you use a sponge mop, apply the mop in a straight line. For angry mops, you can try microfiber mops.
7. Stop for Stubborn Spots

When you encounter a hard or sticky stain, grab the stain and rub it backward by applying pressure to the bottom to remove the glue. For tight-to-reach inclinations and advantages, you require to wash the floor with a sponge or paper towel.
8. Rinse the Mopped Area

After scrubbing each small spot on the floor, wash the tip well into the bucket. Take mop-up a few periods, then dismiss as many messy aquae from the mop head as feasible.
9. Continue Mopping

Repeat the process of mopping and ringing for each section until you finish the floor. When you operate, keep up an look at both the wash aqua and the aqua pure. Empty and refilled buckets are gray or visible. The use of dirty wash water or wash water only spreads dirty water on the floor and complicates the washing process.
10. Do a Final Wash
At this point, your floor should be especially clean directly, with small or no detergent remaining rejected. But for extra cleaning steps, you can shake the whole floor without doing anything other than fresh hot wash water. If your wash water gets a little dirty or dirty, you need to wash it
11. Let Everything Dry
Wash your mop and mop pail simply and permit them to dry totally before keeping them. Let it dry totally before you wayfaring on your house floor.